Selling and marketing
Farmers Market Bakery Stand: How to Sell Your Bakes at the Market
You will know what to bake, how to set your table, and how to get paid at your first market.

On this page
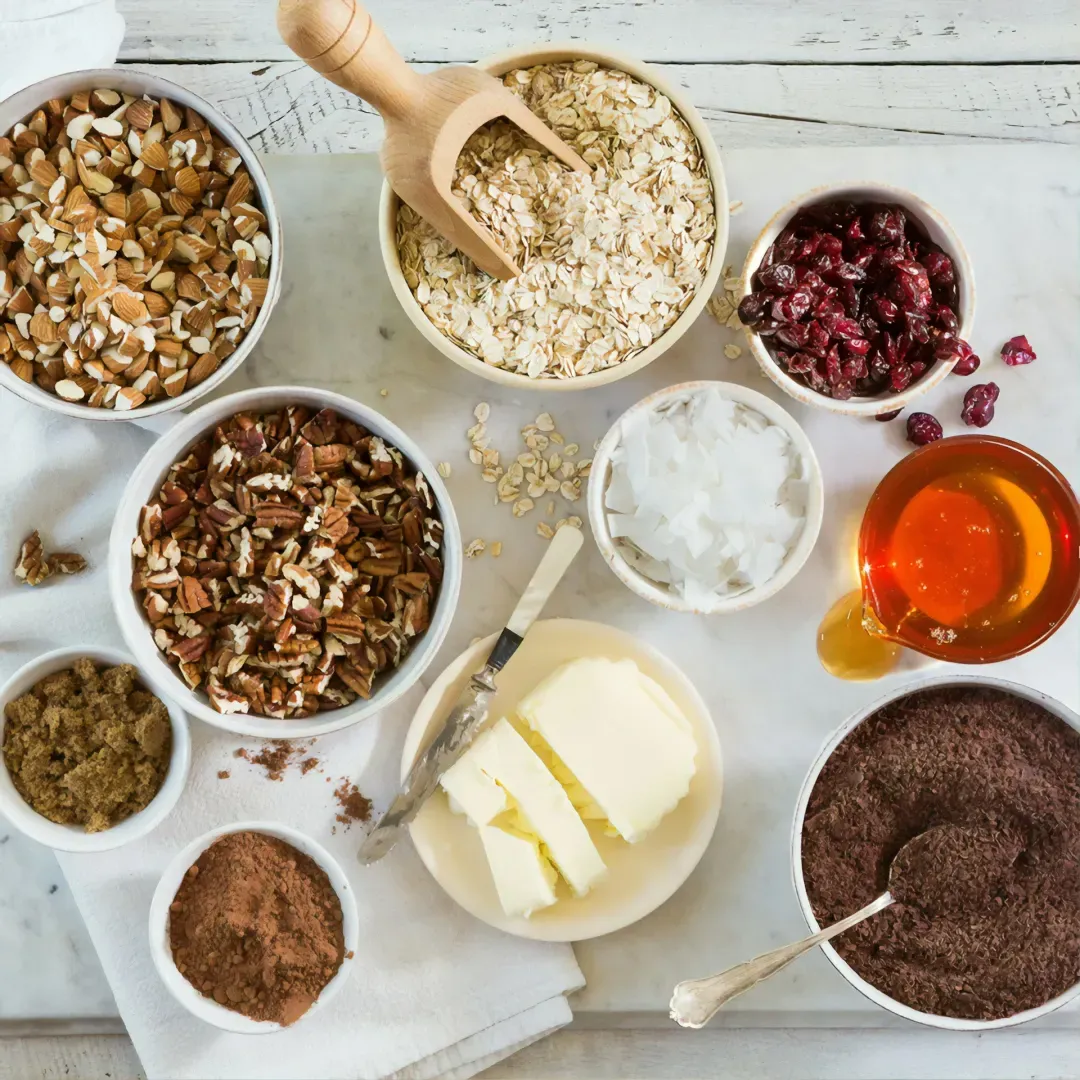
You already bake for people. A market stand is just a bigger room. The difference is that everyone walking past is a stranger who has to decide in about three seconds whether to stop. That is the whole game: bake well, make the table easy to read, and make paying simple.
What to remember
- A short menu sells better than a long one. - Price from your real costs, not from what feels polite. - Your table has to make sense from six feet away. - Have a way to take cards and a way to take a custom order. - Write down what sold. The second market is easier than the first.
Start with what you are allowed to sell
Every state sets its own rules for food baked at home, and every market adds its own on top. Before you plan a menu, find your state’s list of allowed foods and ask the market manager what they need from you. Two bakers in two states can get two different answers, so use your own state’s list, not a blog post from somewhere else.
Build a menu you can actually bake
A market menu is not a bakery menu. Pick a handful of items that share ingredients, hold up in a cooler, and travel without crumbling. If you can bake six things from two doughs, you can fill a table without waking up at two in the morning. The farmers market bakery menu guide walks through what to put on it. Keep the list short enough that a customer can read the whole thing while walking past.
Price so the market is worth your Saturday
Add up your ingredients, your packaging, and your time, then add the market fee and the hours you spend standing there. If the number surprises you, that is normal. It usually means the price has to go up, not that you should bake more.
Set the table so it reads from six feet away
Height, signs, and a clear price on everything are what stop people. Keep your best seller at eye level, put a price on every item, and leave room for people to point and ask. The display guide has layouts you can copy with things you already own.
How to run the day
Check what you can sell
Confirm your state’s allowed foods and what your market manager needs from you. Do this weeks before your first market, not the night before.
Pick a short menu
Choose a few items that share ingredients and travel well. Write the names the way a customer would say them out loud.
Price each item
Add ingredients, packaging, and your time. Add the market fee. Set the price from that number.
Pack a table you can carry
Labels with prices, a way to keep things cool, bags, and a cash box. Pack in the order you will set up.
Take orders and get paid
Have a way to take cards, and a way to write down custom orders before the customer walks off.
Write down what sold
Note what ran out and what came home. That list builds your next menu.
Get paid without losing the sale
Cash is easy until someone has none. If you only take cash, you will watch people walk away. With Brevl you take card payments through your own Stripe or Square account, plus Venmo, Cash App, Zelle, and cash. One flat $20 a month, no cut of your sales, and a 14 day free trial.
The second market is the easy one
Your first market teaches you what your town buys. Keep the notes, keep the prices you set, and change one thing at a time. The setup plan covers your first table in order, and the home baking business app guide covers what to use to take orders and get paid between markets.
See what Brevl costs and what you get
Free, no signup.
This guide is general information, not legal or financial advice. Rules for selling home baked goods and market requirements vary by state and by market. Check your own state's rules and ask your market manager before you sell.