Selling and marketing
Micro Bakery Stand: How to Set One Up and Sell Your Bakes
Set up a small stand outside your home that sells out and pays you back.

On this page
- Decide three things before you turn the oven on
- What to bake for a stand that sits outside
- Set up the stand so people stop
- Signs and prices that do the selling for you
- Getting paid when you are not standing there
- Labels, allergens, and your state rules
- Keep a small record book
- Mistakes that stall a new stand
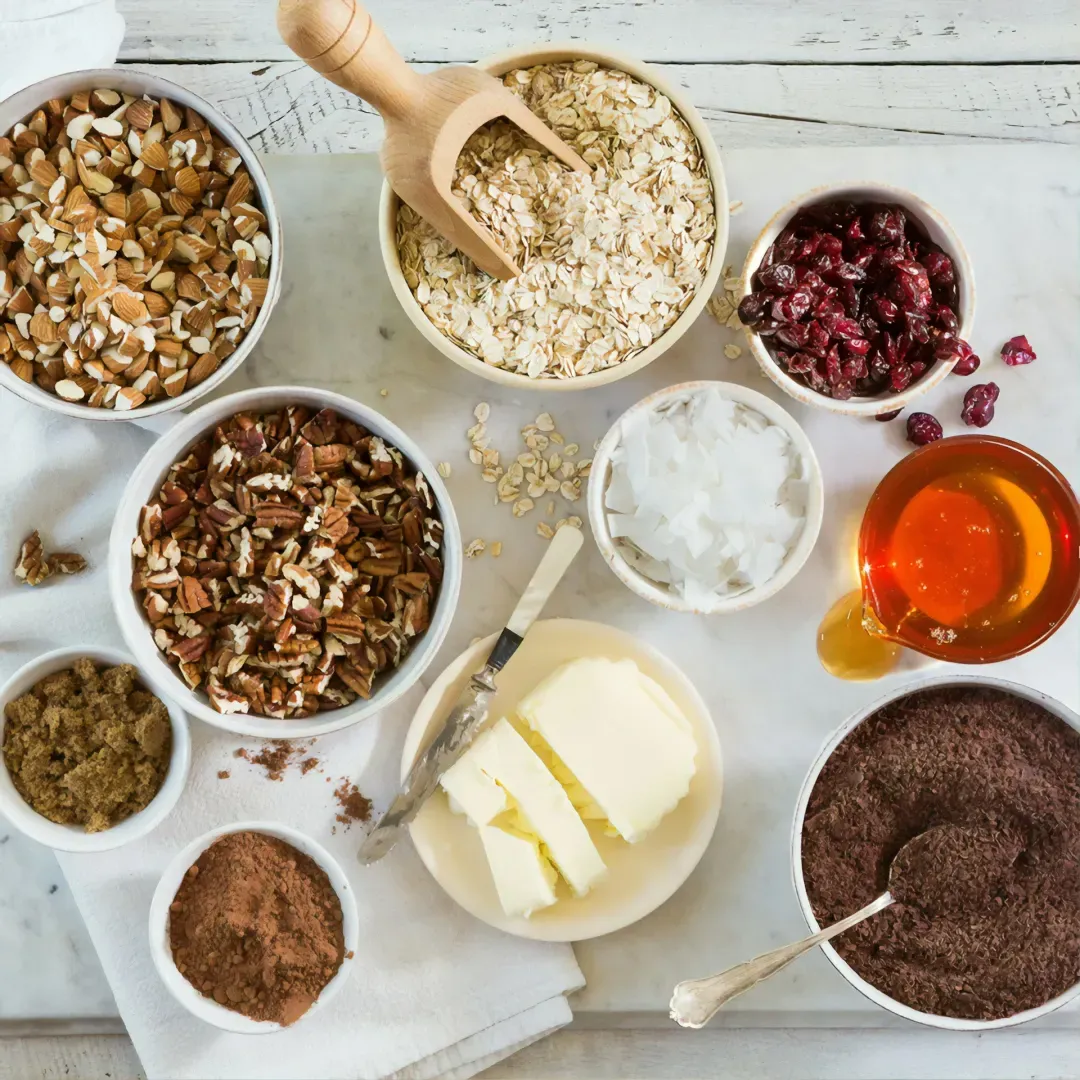
A micro bakery stand sits somewhere between a farm stand and a porch sale. You are not trying to feed a whole town. You are trying to sell everything you baked by the end of the day, to people who will come back next week. That one goal changes almost every choice, from what goes on the table to how big the sign is.
What to remember
- Pick three to five items, so the table looks full without a long bake day. - Set two selling windows a week and put them on a sign, so people learn when to come back. - Take cash and at least one card option from the first day. - Write down what sold and what came home, every single time. - Check your state cottage food list before you bake anything for sale.
Decide three things before you turn the oven on
First, what you are selling. Second, when the stand is open. Third, how people pay. If you cannot answer all three in one sentence each, the stand is not ready yet.
Write them on paper and tape it inside a cupboard door. New bakers lose more money to vague plans than to bad recipes.
What to bake for a stand that sits outside
Choose items that still look good after a few hours on a table. Loaves, cookies, bars, quick breads, and small cakes all hold their shape and their price. Anything that needs to stay cold is a harder sell on a stand with no power.
Bake what you already make well. A stand is a bad place to test a new recipe on paying customers. If you want to try something new, bake a small tray and tell people it is new. For ideas on what moves first, see top selling baked goods at flea markets.
Set up the stand so people stop
Pick the spot people already pass
Put the stand where foot traffic already is, not where you wish it was. The end of a driveway, a sidewalk edge, or beside a mailbox all work if people walk by them.
Use a table at waist height
A table people can see into without bending sells better than a low shelf. Cover it with a cloth that hides crumbs, and keep everything in covered containers until someone stops.
Make the sign readable from ten feet
Big item names, big prices, and your selling hours at the bottom. If someone has to walk up to read it, the sign is too small.
Put payment on the sign
List cash, card, Venmo, Cash App, and Zelle if you take them. People pay faster when they do not have to ask.
Leave a way to reach you
A phone number or a note that says how to order ahead turns a one time sale into a weekly customer.
Signs and prices that do the selling for you
Price by the item, not by the tray. Round numbers are easier to read and easier to make change for. If you are not sure where to start, price the ingredients, your time, and your packaging, then check what nearby stands charge for something similar.
Bundle two or three items at a slightly better price. A loaf plus a small jar of something, or four cookies in a bag, gives people a reason to buy more than one thing.
Price your first batch
Free, no signup.
Getting paid when you are not standing there
Most micro stands are not staffed all day. That is fine as long as paying is obvious. Keep a cash box that locks and is bolted or chained down, and empty it often.
For cards, use your own Stripe or Square account so the money lands with you directly. Add Venmo, Cash App, and Zelle for the neighbors who prefer them. Write every payment method on the sign, and put a small note that says thank you for paying.
Labels, allergens, and your state rules
Your state decides what home bakers can sell and how it has to be labeled, so start with your state cottage food list before you bake for sale. Our guide to the cottage food approved list walks through how to check it.
On allergens, the FDA publishes a question and answer guidance that explains its current thinking on food allergen labeling, including how the Food Allergen Labeling and Consumer Protection Act of 2004 is applied. Read it before you design a label.
Keep a small record book
One page per bake day. What you made, what you sold, what came back, what people asked for, and what you spent. Three weeks of that page tells you more than any advice, including this guide.
Mistakes that stall a new stand
A micro bakery stand grows the same way a good starter does. Slow, steady, and fed a little at a time. Set it up this weekend with three items and a readable sign, and let the neighbors tell you what to bake next. For the bigger picture on running a stand from home, read farm stand baking and home bakery stand.
Rules for selling food from home vary by state and change over time. Check your state's cottage food rules and allergen labeling requirements before you sell.